Whether you’re a beginner or a seasoned crafter, mastering the art of tie-dyeing is a rewarding and enjoyable endeavor. Here’s a comprehensive guide to help you embark on your tie-dyeing journey and create stunning, one-of-a-kind pieces.
Gathering Materials:
- White Garments: Start with clean, white, 100% cotton shirts, dresses, or other clothing items. The natural fibers of cotton absorb dye best, resulting in vibrant and long-lasting colors.
- Dye: Choose from a variety of fabric dyes available in different colors. Choose a tie-dye kit or individual bottles of dye in your preferred shades.
- Accessories: You’ll need rubber bands, plastic squeeze bottles for mixing and applying dye, gloves, and a plastic table cover to protect your workspace.
Select a well-ventilated area for tie-dyeing. Cover your work surface with a plastic tablecloth to prevent dye from staining the area. Wear old clothes or an apron to protect your clothing from accidental splashes of dye.
There are several tying methods to create different patterns. Here are a few popular techniques:
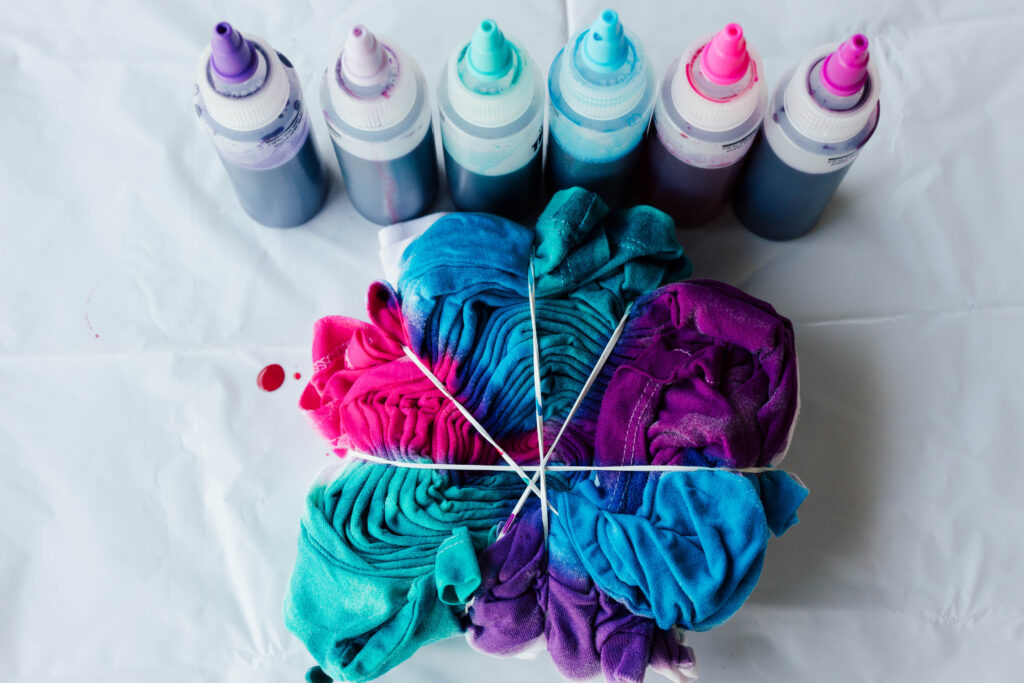
- Spiral: Lay the garment flat and twist it from the center to create a spiral shape. Use rubber bands to secure the twisted fabric, creating pie-shaped sections.
- Crumple: Simply crumple the garment into a loose ball and secure it with rubber bands.
- Accordion Fold: Fold the garment like an accordion, then secure it with rubber bands at regular intervals.
- Stripes: Fold the garment into a long, thin shape and secure it with rubber bands at intervals along the length.
Once your garment is secured with rubber bands according to your desired pattern, it’s time to apply the dye! Mix the dye according to the instructions on the package. Use different colors and apply them to separate sections of the garment. Ensure that the dye penetrates both sides of the fabric for even coverage.
After applying the dye, place the garment in a plastic bag and let it sit for 6-8 hours to allow the colors to set. The longer you leave it, the more vibrant the colors will be.
Once the dye has set, rinse the garment under cold water to remove excess dye. Remove the rubber bands and rinse until the water runs clear. Finally, wash the garment separately in a washing machine on a cold cycle before wearing or using it.
If you’re looking to build a retirement plan that lets you spend more time outside doing fun things like this, Click HERE to reach out to one of our professionals at Wellington Wealth Strategies today for a complimentary review of your finances. We can help you to infuse your retirement with the joy of crafts and art.